![Metaplay Free: Build Live Service Games with a Free Game Backend [Updated for 2026]](/images/blog/announcing-metaplay-free-featured.webp)
Metaplay Free gives game developers access to the full Metaplay backend stack for local development at no cost, including the LiveOps Dashboard, BotClient testing, shared C# game logic, and server-authoritative architecture — the same foundation used by top-tier game studios.
What Is Metaplay Free?
Metaplay Free is a no-cost plan that gives game developers access to the full Metaplay backend stack for local development. You can start building ambitious features for your online game from day one, on the same solid foundation as top-tier game studios.
With Metaplay Free, you can work entirely locally, at your own pace, knowing that things are set up the right way from the outset of your project. When you're ready to deploy to the cloud, upgrading to a paid plan is straightforward through the Metaplay Portal.
What's Included in Metaplay Free?
Metaplay Free includes everything you need to develop locally:
- Full Metaplay SDK — Unity client library, C# game server, and all pre-built features
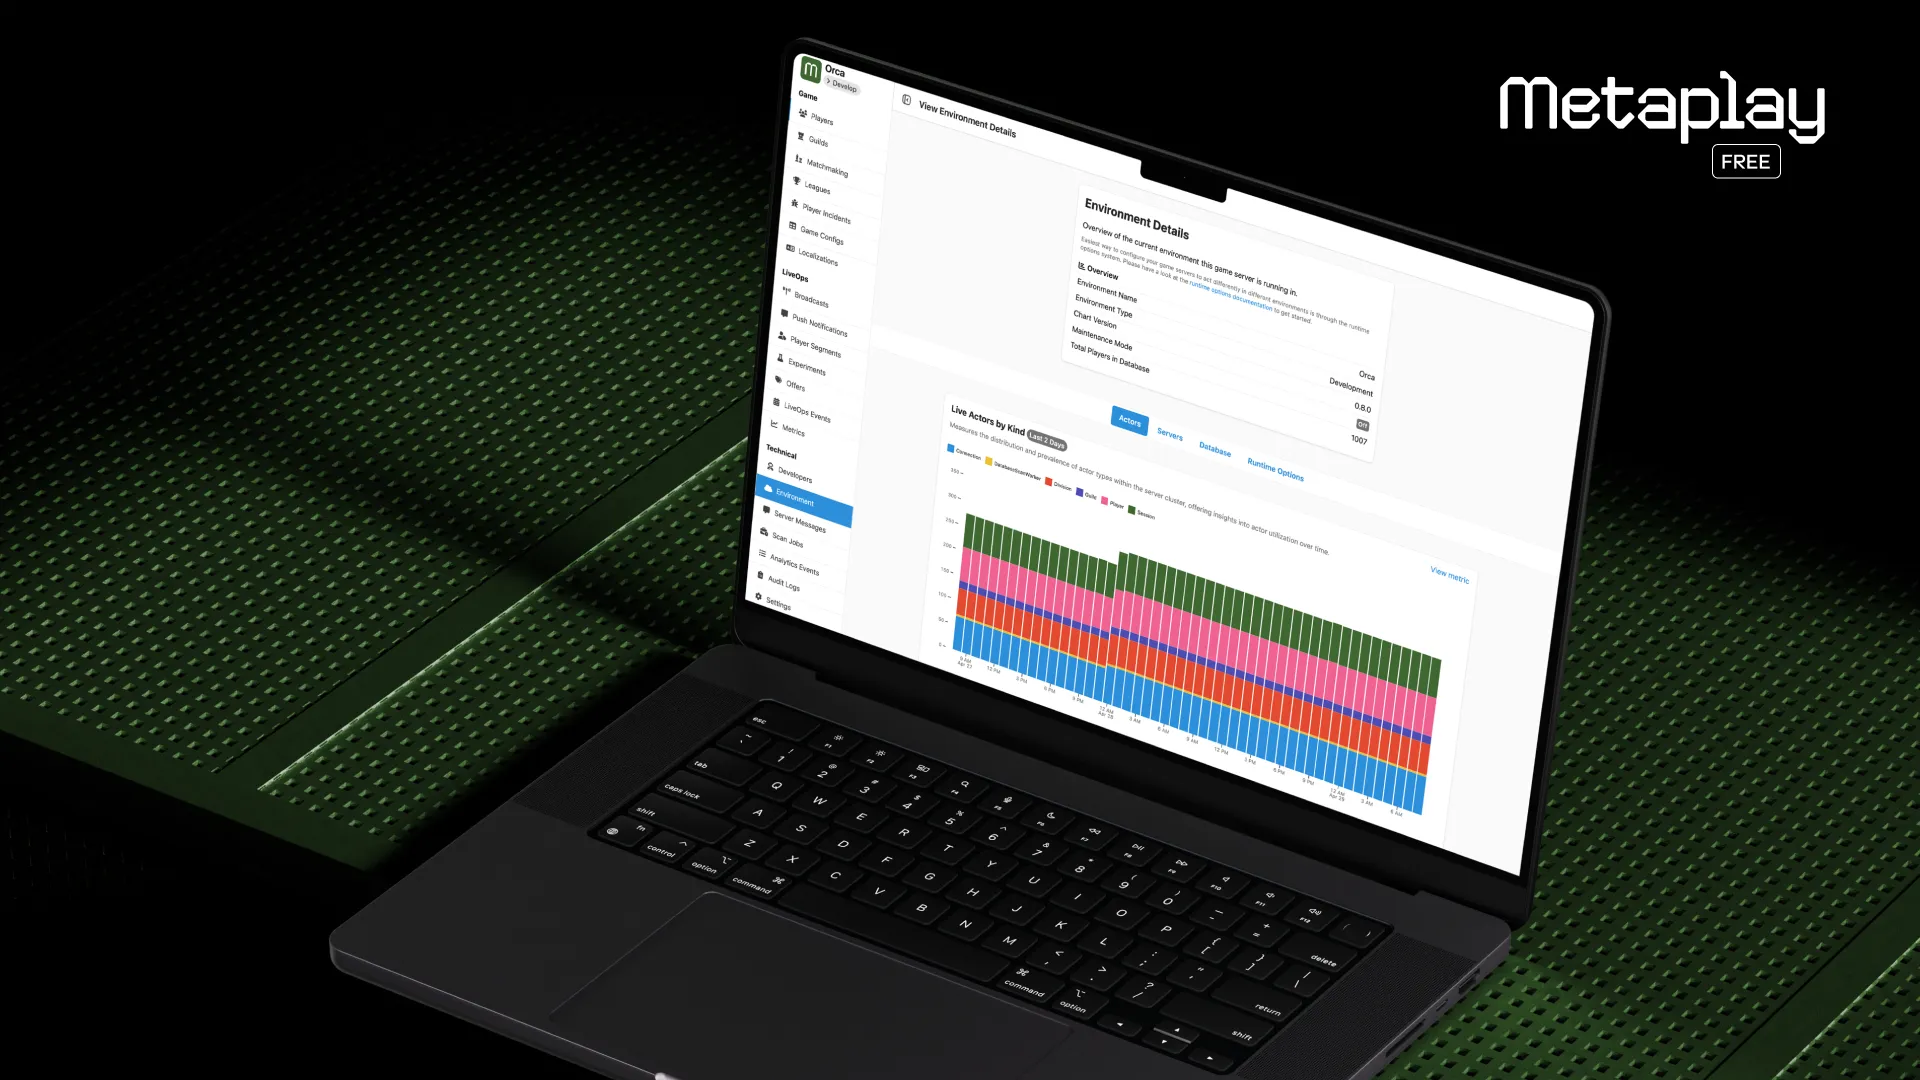
- LiveOps Dashboard — Manage players, game configs, A/B testing, segmentation, and in-game events locally
- BotClient testing — Simulate players to test how your game feels at scale
- Local server — Spin up a game server with a single command, no Docker or database required
- Shared C# game logic — Write once, run on both client and server
- Source code access — Fully extensible and customizable

Server-Authoritative Architecture Built for Scale
Unlike other game backends, Metaplay is server-authoritative and cheat-proof by default. Player actions are stored instantly on the server, which means there's no way for players to hack the client — an inevitability for any game that achieves meaningful scale.
With Metaplay, developers never have to worry about client-side cheating becoming a problem. This architecture also unlocks powerful programming tools directly in the Unity SDK.
Shared Game Logic Between Client and Server
At the heart of Metaplay is a developer superpower: shared game logic between the client and server. You write your core game logic once in C#, and Metaplay runs it seamlessly on both sides. No more double-implementing features, no more sync headaches, and no more rewriting server logic in a different language.
This also unlocks a significant advantage for players. The client can instantly predict and respond to player actions using the exact same logic the server later validates, giving your game snappy responsiveness without sacrificing security.
Fully Extensible and Customizable
Metaplay ships as source code with everything extensible by design. No two games are the same, and as your game grows, you'll never be held back by platform limitations. Whatever you want to add to your game, you can build it with Metaplay.
How to Integrate the Metaplay SDK into Your Unity Game
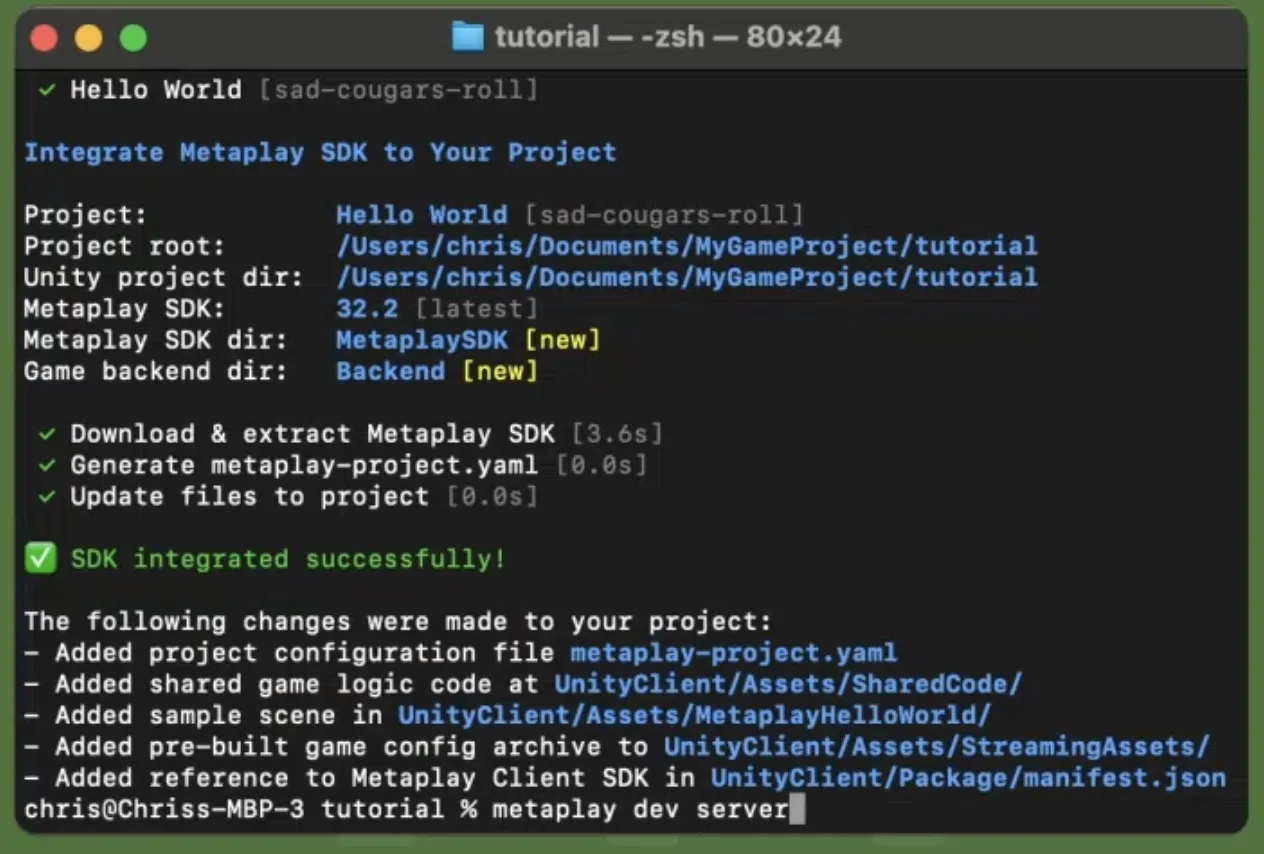
Getting started with Metaplay Free takes just a few minutes. Install the Metaplay CLI via Homebrew, run metaplay init project in your Unity project directory, and you'll have the full SDK integrated and a local game server running.
For the full step-by-step walkthrough with screenshots, see our dedicated guide: How to Install the Metaplay SDK and Run a Local Game Server for Free.
How to Deploy Your Game to the Metaplay Cloud
Metaplay Free is designed for local development and testing. When you're ready to take your game live, upgrade to a paid plan through the Metaplay Portal to deploy to the Metaplay Cloud.
Paid plans include cloud-hosted development, staging, and production environments — starting from €195/month for prototyping and scaling up to full production infrastructure with unlimited DAU. See our pricing page for full details.
FAQ
What does Metaplay Free include, and what does it not?
Metaplay Free gives you the full SDK – Unity client library, C# game server, LiveOps dashboard, BotClient player simulation, shared client-server game logic, and source code access – all running locally at no cost. The only limitation is that there are no cloud environments: local development is free, but deploying to test with real players or going to production requires a paid plan starting at €195/month.
How does Metaplay's server-authoritative architecture prevent client-side cheating?
In Metaplay's server-authoritative model, all player actions are validated and stored on the server. The client has no authority over game state – it predicts locally for responsiveness, but the server always has the final word. This makes client-side hacking structurally ineffective: any manipulation on the client is overridden when the server processes the action.
What does "shared game logic between client and server" mean in Metaplay?
It means you write your core game logic once in C#, and Metaplay runs that same code on both the Unity client and the game server. No double-implementation, no language switch, no sync headaches. The client uses the shared logic for instant local prediction; the server uses it for authoritative validation.
How quickly can a Unity developer get a Metaplay local server running?
A few minutes. Install the Metaplay CLI via Homebrew, run metaplay init project in your Unity project directory, then metaplay dev server to start the local server. No Docker or external database required. The full walkthrough is in the Metaplay SDK installation guide.

![Announcing Metaplay Starter [Updated for 2026]](/images/blog/announcing-metaplay-starter-featured.webp)